
# Acurite Weather Station Installation Guide
Installing an Acurite weather station can be a rewarding experience, providing you with accurate and real-time weather data right at your fingertips. Whether you’re a weather enthusiast or simply want to keep track of local conditions, this guide will walk you through the installation process step by step.
## Choosing the Right Location
Before you start the installation, it’s crucial to choose the right location for your Acurite weather station. The placement of your sensors can significantly impact the accuracy of the data collected.
### Outdoor Sensor Placement
For the outdoor sensor, select a location that is:
– At least 5 feet above the ground
– Away from obstructions like trees, buildings, and walls
– In an open area to ensure accurate wind and rain measurements
### Indoor Display Placement
The indoor display should be placed in a convenient location where you can easily read the data. Ensure it’s:
– Away from direct sunlight and heat sources
– Within range of the outdoor sensor (typically 100 feet, but this can vary)
## Unboxing and Preparing Your Acurite Weather Station
Once you’ve chosen the perfect locations, it’s time to unbox your Acurite weather station. Here’s what you’ll typically find inside:
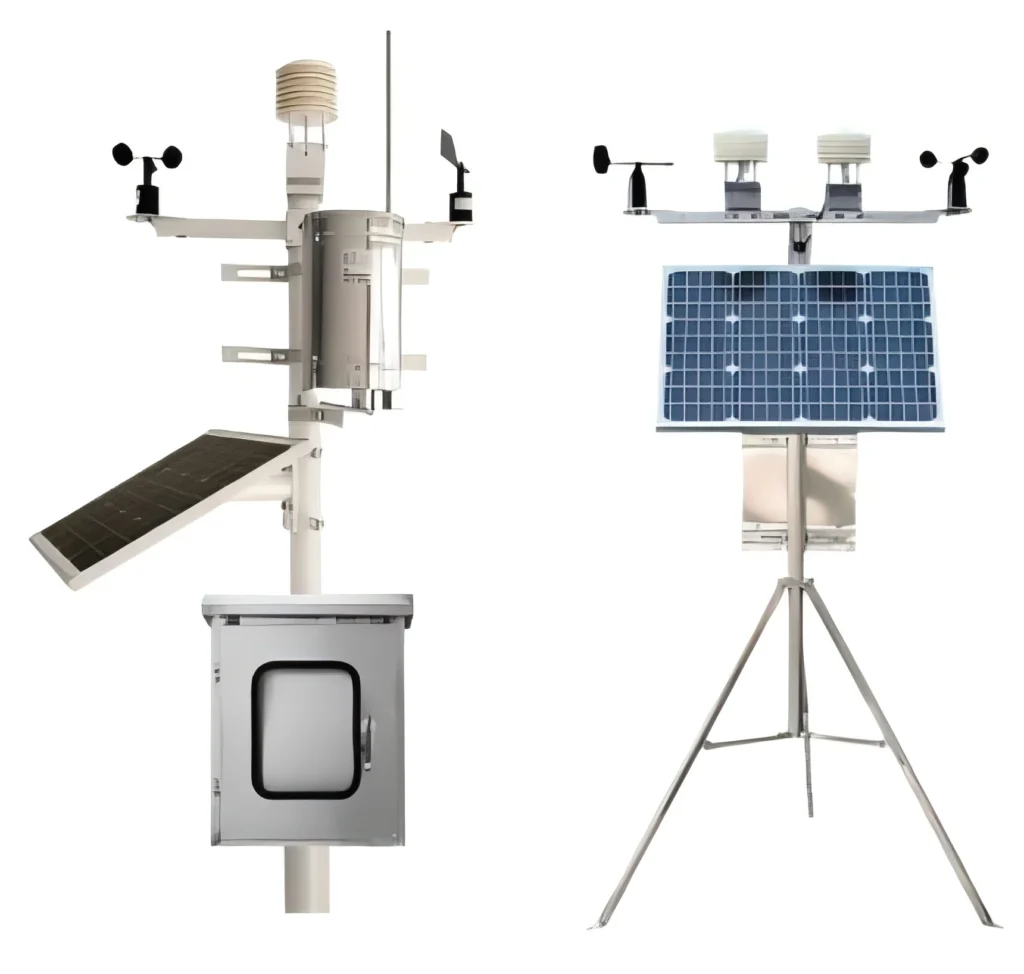
– Outdoor sensor (anemometer, rain gauge, and thermometer)
– Indoor display console
– Mounting hardware
– Instruction manual
### Assembling the Outdoor Sensor
Follow these steps to assemble the outdoor sensor:
1. Attach the anemometer to the mounting pole.
2. Secure the rain gauge in its designated spot.
3. Ensure all connections are tight and secure.
## Mounting the Outdoor Sensor
Proper mounting is essential for accurate data collection. Here’s how to do it:
1. Use the provided mounting hardware to secure the pole to a stable surface.
2. Ensure the sensor is level and facing the correct direction (usually north for accurate wind readings).
3. Double-check all connections to make sure they’re secure.
## Setting Up the Indoor Display
With the outdoor sensor in place, it’s time to set up the indoor display:
1. Insert the batteries into the display console.
2. Power on the console and follow the on-screen instructions to sync it with the outdoor sensor.
3. Place the console in its designated location, ensuring it’s within range of the outdoor sensor.
## Calibrating Your Acurite Weather Station
Calibration ensures your weather station provides the most accurate data possible. Here’s how to calibrate it:
1. Compare the readings from your Acurite weather station with a trusted local weather source.
2. Adjust the settings on the indoor display to match the local data.
3. Regularly check and recalibrate as needed to maintain accuracy.
## Troubleshooting Common Issues
Even with proper installation, you might encounter some issues. Here are a few common problems and their solutions:
### No Signal from Outdoor Sensor
– Ensure the outdoor sensor is within range of the indoor display.
– Check the batteries in both the sensor and the display.
– Make sure there are no obstructions blocking the signal.
### Inaccurate Readings
– Verify the sensor is properly mounted and level.
– Ensure the sensor is not exposed to direct sunlight or heat sources.
– Recalibrate the weather station as needed.
## Maintaining Your Acurite Weather Station
Regular maintenance is key to keeping your weather station in top condition. Here are some tips:
– Clean the rain gauge and anemometer regularly to prevent debris buildup.
– Check the batteries periodically and replace them as needed.
– Inspect the mounting hardware to ensure everything remains secure.
## Conclusion
Installing an Acurite weather station is a straightforward process that can provide you with valuable weather data. By following this guide, you’ll ensure your weather station is set up correctly and functioning optimally. Enjoy the benefits of having real-time weather information at your fingertips!
Keyword: acurite weather station installation